Upgrading to an SSD

Tools
Here is a list of tools that I used.- Phillips screwdriver
- ESD mat with strap and outlet tester
- USB drive with Ventoy to install Linux Mint
- 2.5" SATA SSD
- USB 3.0 SATA Hard Drive Docking Station
- Spudger
The Process
- Power the laptop and remove the battery.
- Remove screws on the underside of the laptop, and remove the CD drive. There were two hidden under the rubber pads near the battery.
- Use a spudger to gently pry the palm rest assembly apart from the bottom case assembly.
- Identify the HDD and the SATA cable that connects the HDD to the motherboard.

- Remove the three screws of the two brackets that hold the HDD in place, but do not remove the HDD before disconnecting the SATA cable.
- Gently remove the SATA cable from the HDD.
- Remove the brackets from the sides of the HDD by removing the four screws that hold them in place. Place the HDD to the side in a safe location.
- Screw the brackets onto the replacement SSD drive. There should be two holes on each side of the drive. Note the orientation of the SSD’s SATA power and data connectors. They need to align with the connectors of the laptop’s SATA cable.
- Mount the SSD inside the laptop by replacing the three screws that held the bracket in place. Connect the SATA cable to the SSD.
- Rejoin the assemblies and replace the battery.
- Plug in the Ventoy USB and power on the laptop. USB was already at the top of the boot order in the UEFI settings.
- Select the iso that you want to try. This gives you an opportunity to try out an OS before installing it. Mint was selected for this laptop.
- Click on “Install Linux Mint” to begin the installation.
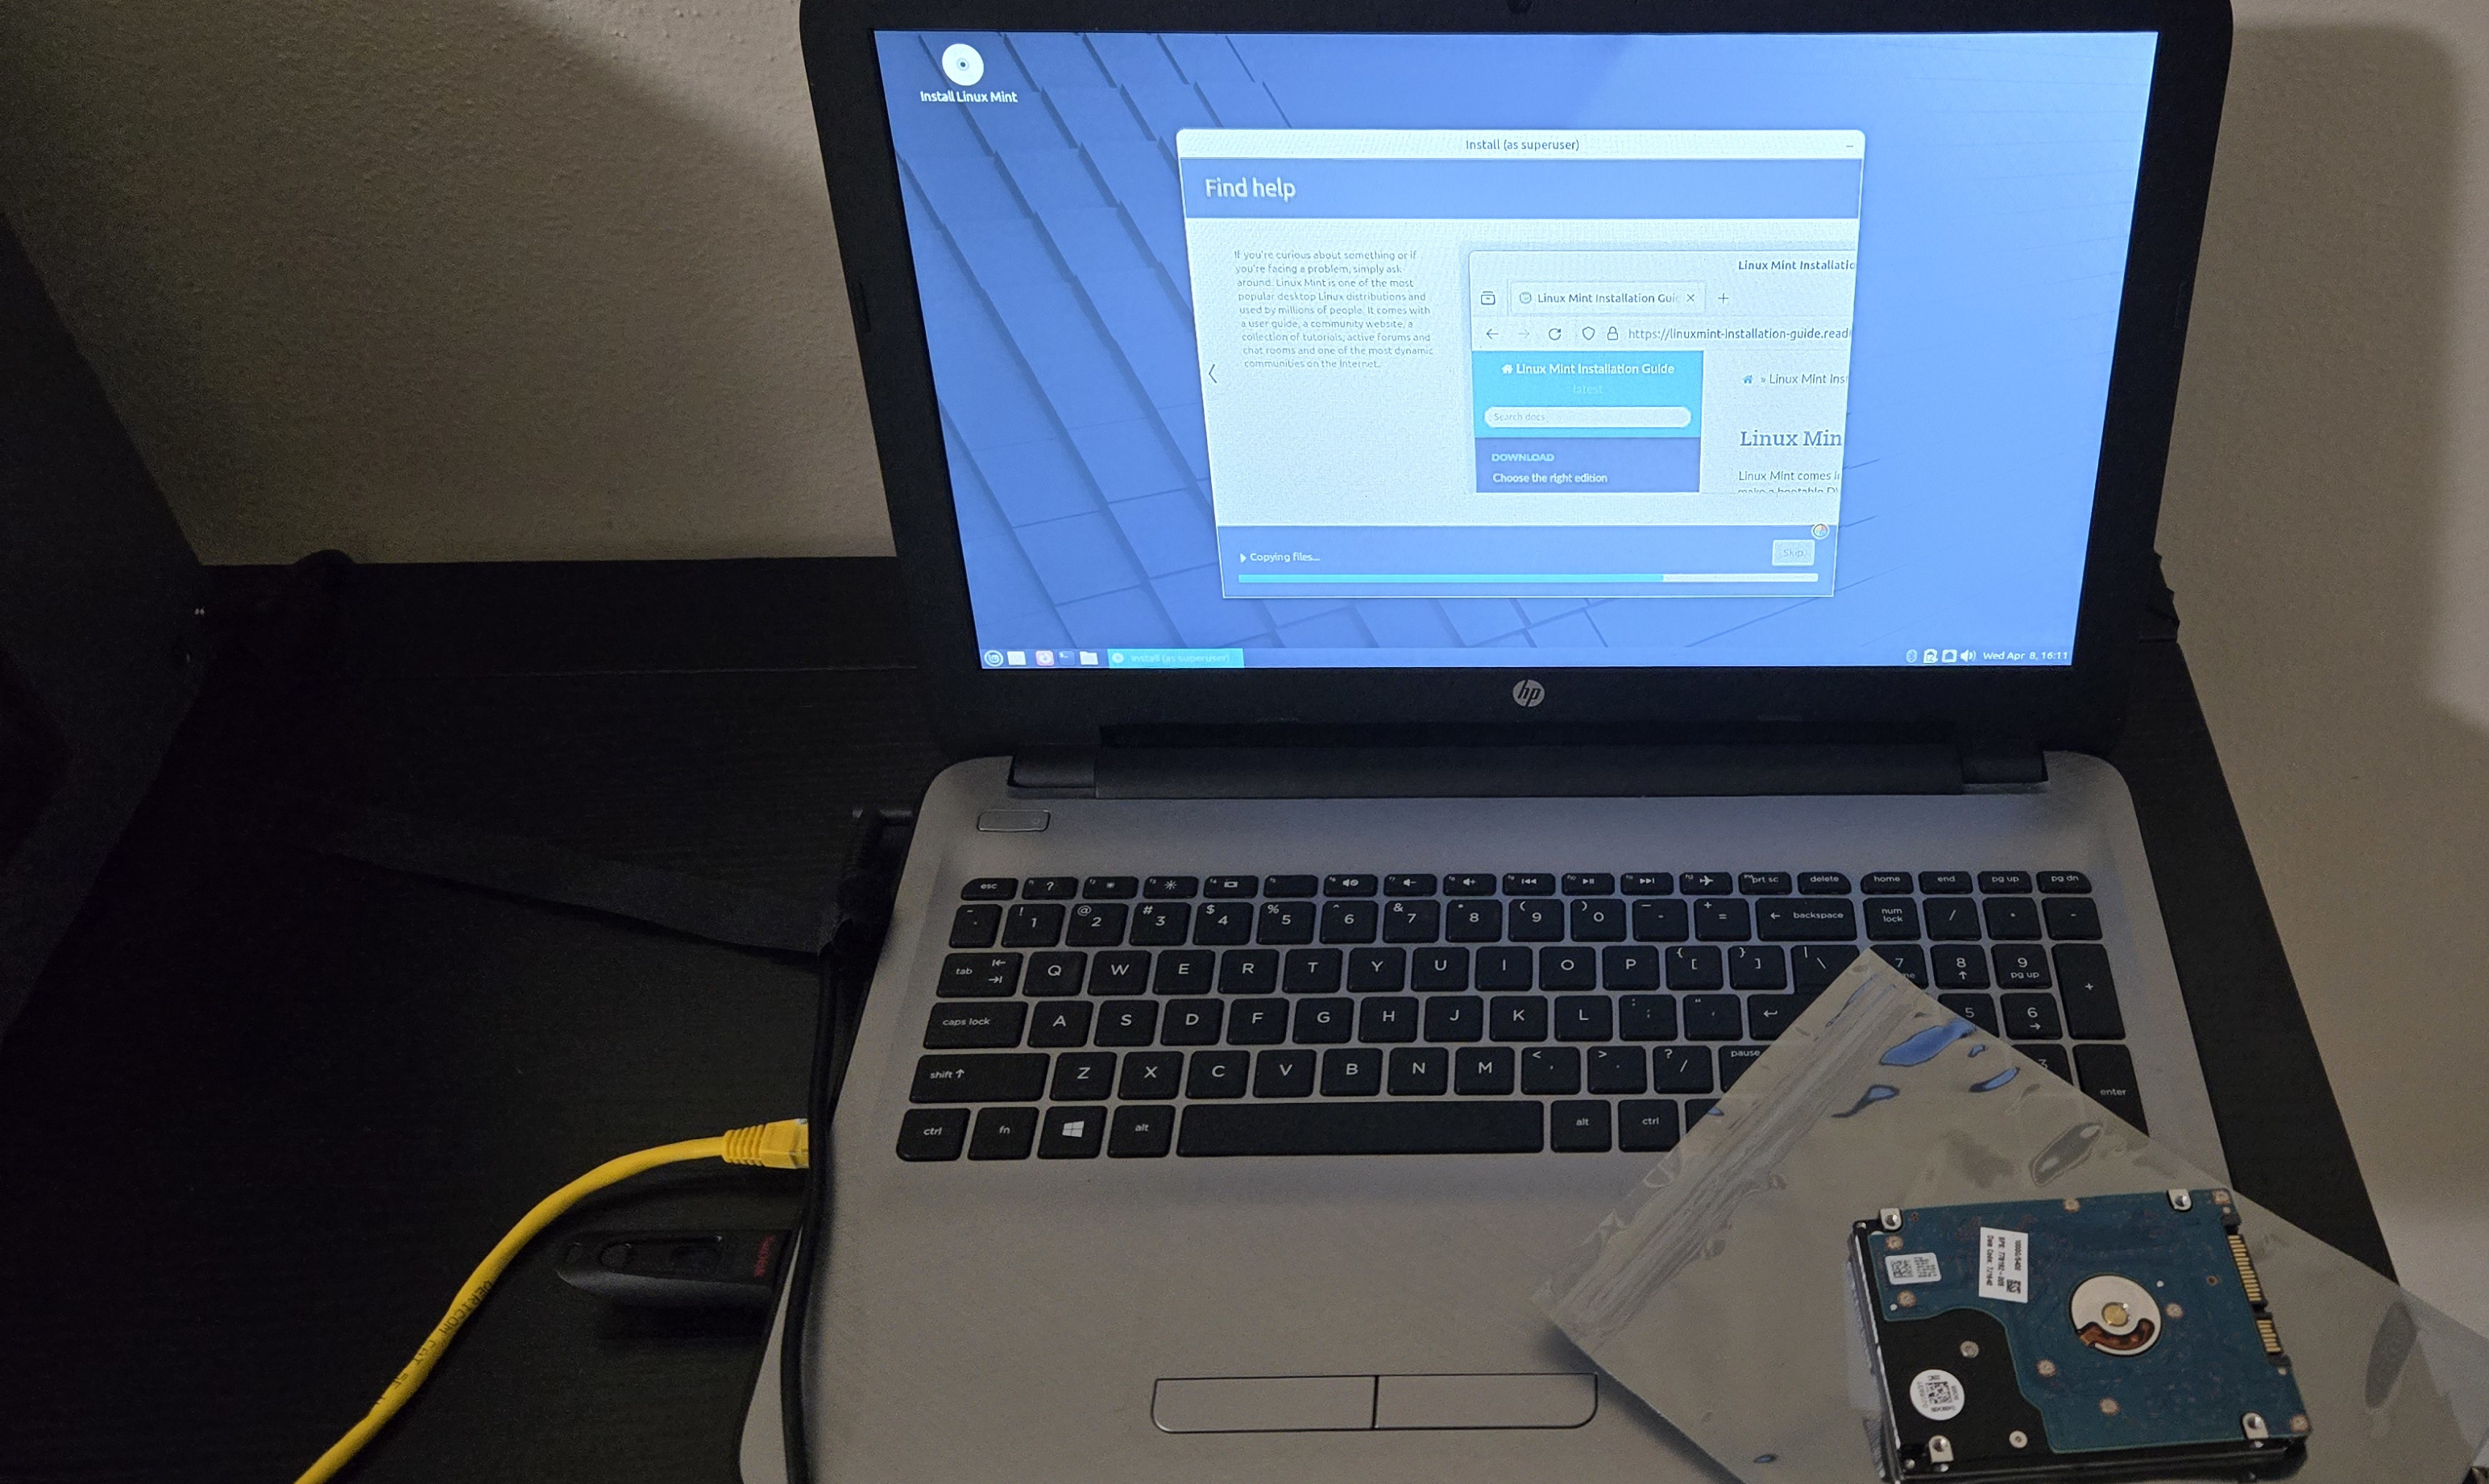
Once Linux Mint was installed it was time to verify everything worked and to repurpose the old HDD as an external drive.
A Few Quirks after Post Installation
The boot time had a noticeable reduction. What originally took a minute or more is now slashed by over half. The browser and other applications open in a few seconds. I connected the HDD via a SATA hard drive docking station, and used gparted to reformat it. Its 1TB of space is now free to use. There were a couple issues that I had to address. The first was that I noticed that visiting certain pages using FireFox would cause the laptop to become unresponsive. The number 1 solution that I saw from my searches was disabling hardware acceleration within the browser. The freezing stopped after turning this off, but I downloaded the Chromium browser as an alternative to FireFox. Prior to enrolling MOK, the WiFi would not detect or connect to any wireless networks. The driver that was not trusted and caused this was “broadcom-sta-dkms.” These two problems were addresses, and now the laptop is ready to return to its owner.